Transfer Photos Between iPhone and iPad
Simple Transfer can send photos and videos directly between two iPhones or iPads on the same WiFi network. No computer, no cloud upload, no AirDrop quirks.
Common uses: moving content to a new device, sharing a trip album with family, or copying videos that are too large for AirDrop or Messages.
Before you start
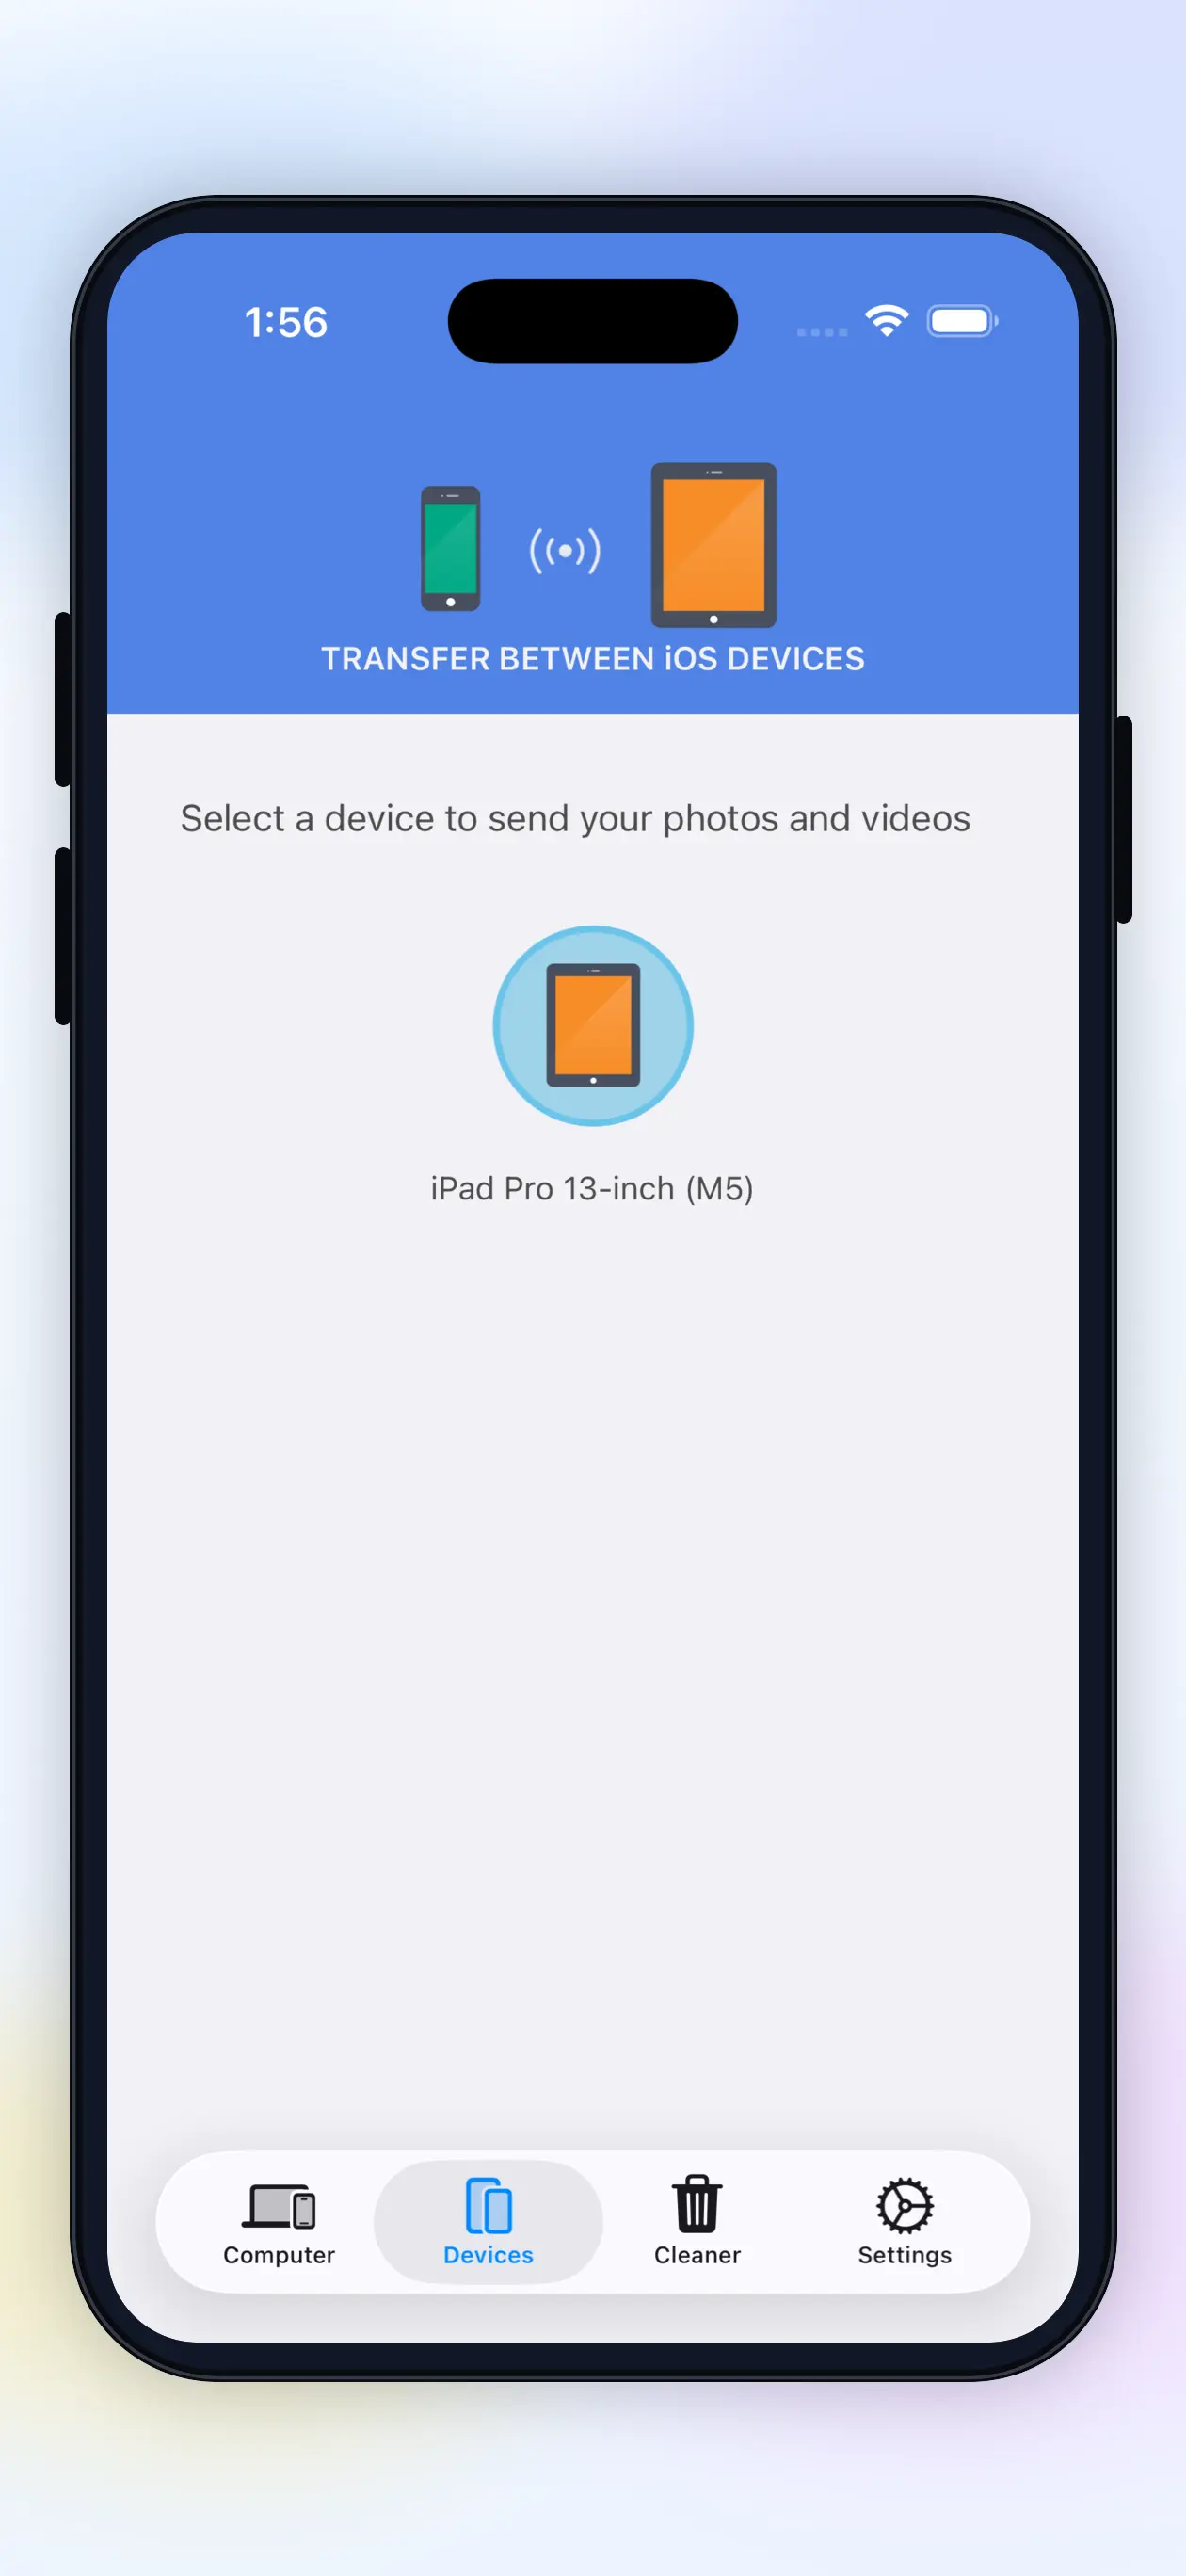
Open the Devices tab
Open Simple Transfer on both devices and select the Devices tab. If you do not see the other device's name, tap the green Find Device button to search again.
Choose the other device
Once both devices are connected to the same WiFi network, the other device should appear in the list. Select it to start browsing albums from that device.
Select photos or videos
Open the album you want to transfer from, tap individual thumbnails, or use Select All for the whole album.
Send and save
After selecting photos or videos, tap Send. On the receiving device, choose where to save them. When the transfer finishes, the receiving device saves the files to Photos.
If the other device does not appear
This is almost always a WiFi discovery issue. Keep both devices awake, confirm the same network, and check Local Network permission on both. On hotel, school, or work WiFi, expect device-to-device blocking. Switch to a home network for iOS-to-iOS transfers.
Full checklist: WiFi connection problems.
Related guides
Can't find iPhone or iPad
Fix device discovery, Local Network permission, VPN, firewall, and router issues.

Photos or Videos not Showing
Check Photos access, iCloud Optimized Storage, deleted items, and albums.

iPhone photos to PC
Move photos and videos to a Windows PC or Mac without cloud upload.
Speed up transfers
Improve speed by checking WiFi quality, file size, iCloud, sleep, and USB fallback.