
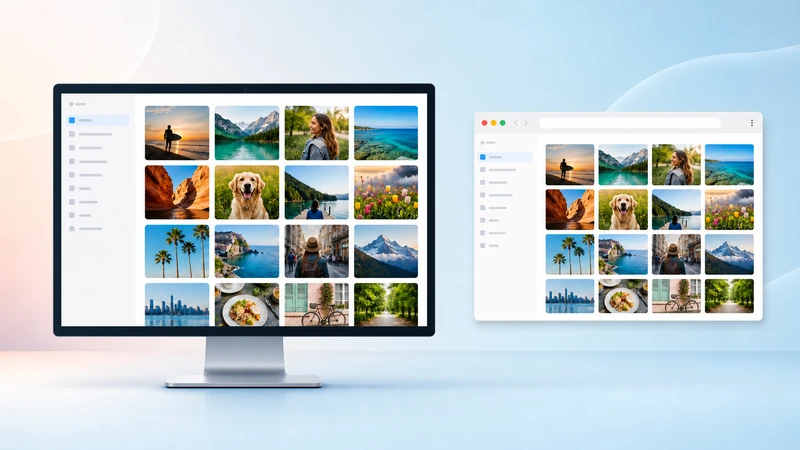
Transfer Photos from Computer to iPhone or iPad
Simple Transfer works in both directions. You can send photos and videos from a Windows PC or Mac back to your iPhone or iPad over your local WiFi network. No cloud upload and no iTunes required.
The upload feature uses the same interface as the regular transfer method. Open Simple Transfer on your iPhone, connect from your computer, and use the Upload button or drag and drop to push files from the computer to the device.
Before you start
How to upload from your computer
Open Simple Transfer on your iPhone or iPad and switch to the Computer tab. You will see a local web address displayed on screen.
Supported video formats
iPhones and iPads can only save certain video formats to the Photos library. When uploading videos from your computer, use one of the supported formats:
Supported video formats: MOV, MP4, MPV, M4V.
Videos in other formats, or videos using unsupported codecs, may not save correctly on the device even if the file uploads without error. If you are unsure, convert the video to MP4 before uploading. Some videos that appear to upload successfully may still fail to play or save if the codec is incompatible with the iPhone's hardware decoder.
If the transfer is slow
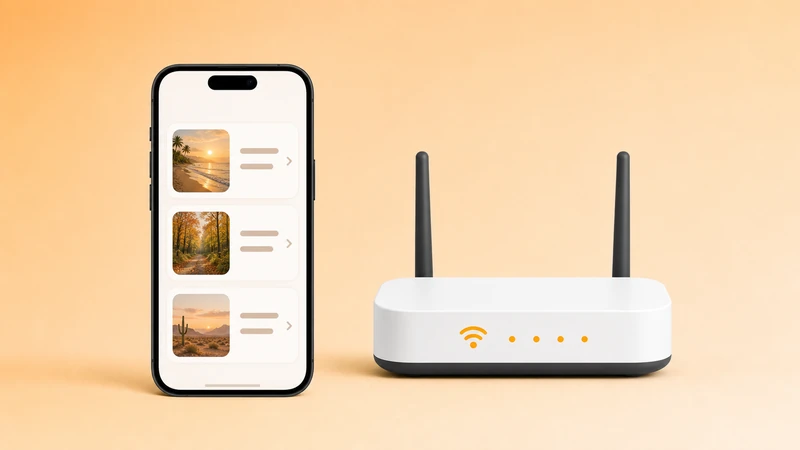
WiFi vs. USB speed
WiFi connections are generally slower than USB for large uploads. If you are sending a large amount of data, especially high-resolution photos or long videos, a USB cable connection is usually faster and more reliable.
To use USB, connect the iPhone to your computer with a data cable, unlock the iPhone, and tap Trust This Computer if prompted. Then open the Simple Transfer Desktop app on your computer instead of the browser method.
If files are not saving to Photos
After files upload from the computer, Simple Transfer saves them to the iPhone's Photos library. If items are missing after an upload, check the following:
Related guides
Full setup guide
Set up the iOS app, connect from a computer, and start downloading.
Desktop app or browser
Choose between the Desktop app and no-install browser transfer.
Transfer with USB cable
Use a cable when WiFi is blocked, slow, or unreliable.
Can't find iPhone or iPad
Fix device discovery, Local Network permission, VPN, firewall, and router issues.